
Sprout farming is one of the easiest and most rewarding things you can do at home. Whether you live in a big house or a small flat, you can start sprout farming without spending a lot of money or needing a garden. All you need is a jar, some seeds, water, and a little bit of time every day.
Sprouts are tiny plants that grow from seeds. They are full of vitamins, minerals, and nutrients that are very good for your body. People use sprouts in salads, sandwiches, parathas, and even smoothies. The best part? You can grow them in your kitchen in just 3 to 7 days.
In this blog, we will walk you through everything you need to know about sprout farming from choosing the right seeds to harvesting your first batch. Let’s get started!
What Is Sprout Farming?
Sprout farming is the process of growing seeds into young plants called sprouts. These sprouts are harvested and eaten while they are still very small usually just a few inches tall. Unlike regular farming, you don’t need soil, a farm, or even sunlight to do sprout farming. It can be done right inside your home.
The most popular seeds used in sprout farming are moong (green gram), chana (chickpea), fenugreek (methi), lentils (masoor), and wheat. These are easy to find in any Indian grocery store and are very affordable.
Sprout farming at home is completely safe, simple, and does not require any chemicals or fertilizers. It is a natural process that even a child can do with a little bit of guidance.
Why Should You Start Sprout Farming at Home?
There are so many reasons why sprout farming is becoming popular, especially in cities like Delhi, Noida, and Gurugram where fresh vegetables can be expensive. Here are some of the top reasons:
- Very affordable — seeds cost just a few rupees
- No garden or outdoor space needed
- Ready to eat in 3–7 days
- Packed with nutrition — protein, fibre, vitamins B, C, and K
- Great for weight loss and digestion
- Eco-friendly — no pesticides, no chemicals
- Fun activity for kids and families
Sprout farming is also a great way to make sure your family always has fresh food at home even when it’s hard to go out to the market.
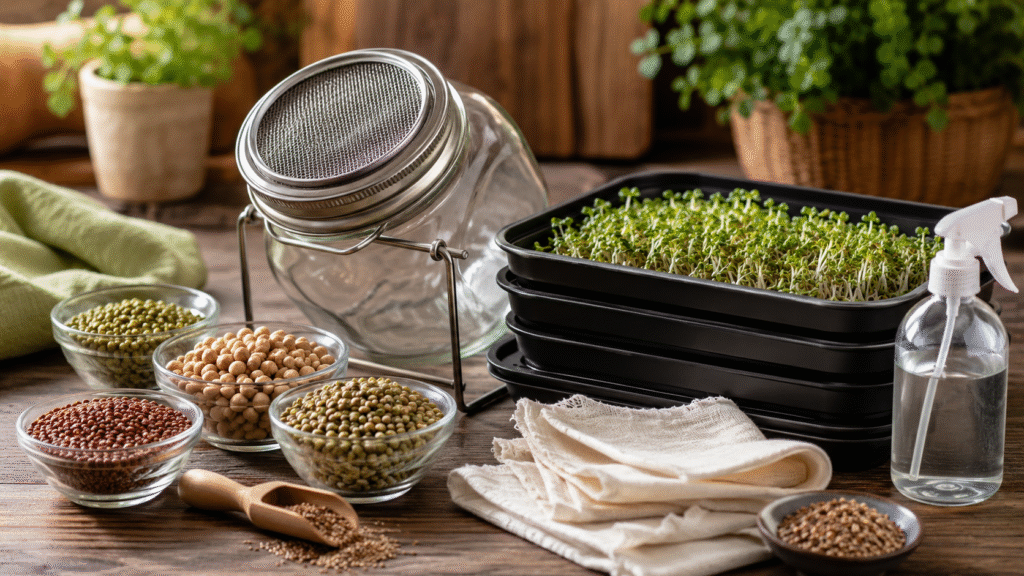
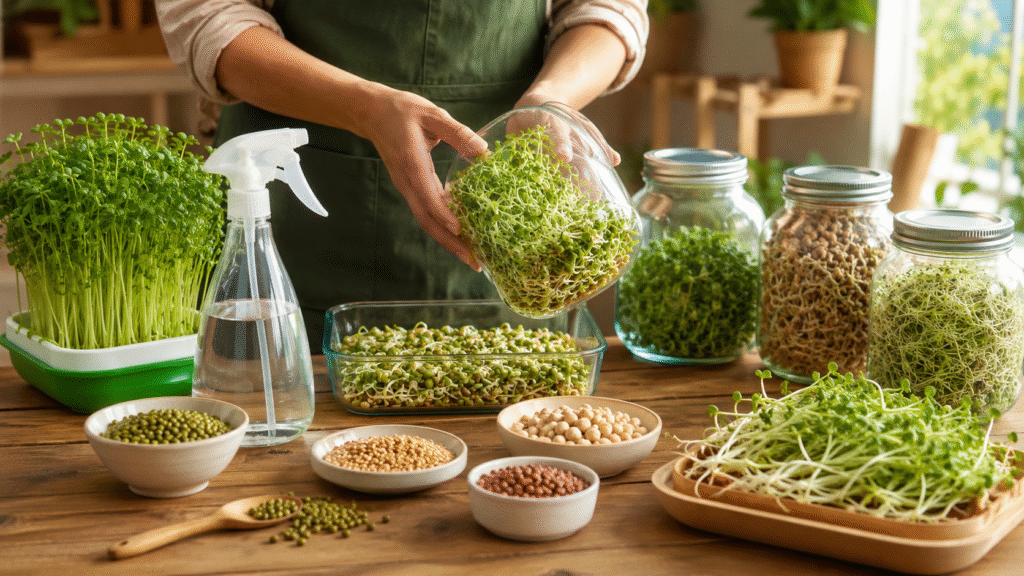
What You Need to Start Sprout Farming
Before we go to the step-by-step process, let’s first look at what items you need. Don’t worry you probably already have most of these things at home!
- Seeds: Moong dal, chana, methi, wheat, or lentils
- A glass jar or container: Any clean glass jar or bowl works
- A muslin cloth or mesh lid: To cover the jar and let air in
- Clean water: For soaking and rinsing the seeds
- A rubber band or string: To hold the cloth over the jar
- A warm spot in your kitchen: Away from direct sunlight
That’s it! You don’t need to buy anything fancy. Sprout farming is truly one of the most budget-friendly ways to grow your own food.
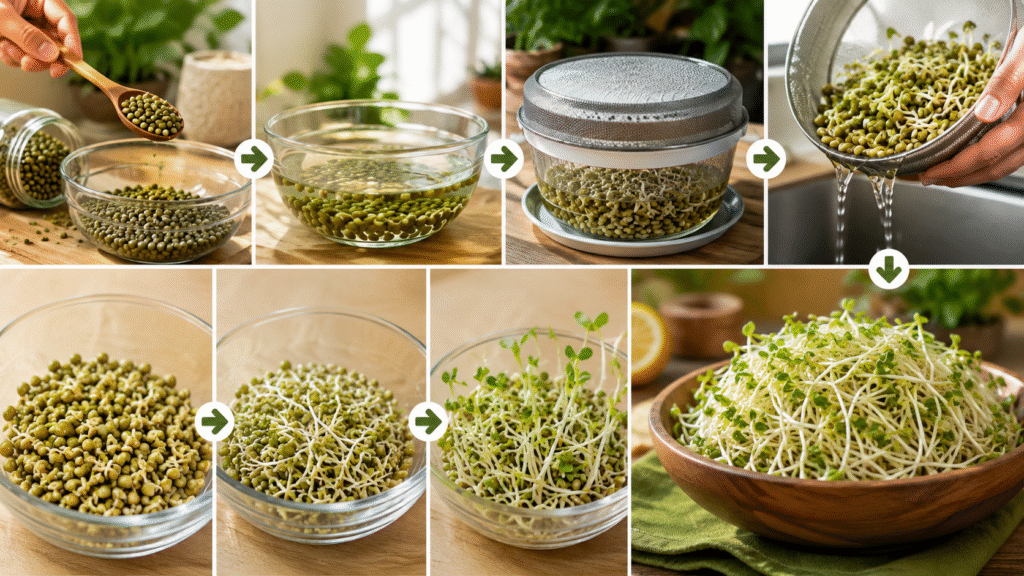
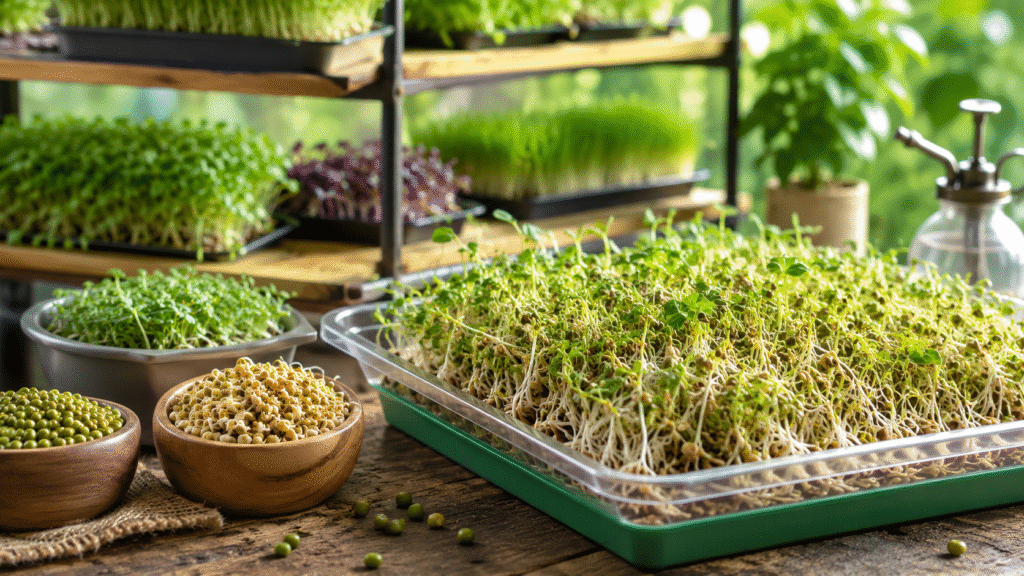
Step-by-Step Guide to Sprout Farming at Home
Now let’s get into the most exciting part the actual sprout farming process! Follow these steps carefully and you will have fresh, healthy sprouts ready to eat in less than a week.
Step 1: Choose Your Seeds
The first step in sprout farming is picking the right seeds. For beginners, moong dal (green gram) is the best choice because it grows fast and is very easy to handle. You can buy moong dal from any local sabzi mandi or grocery store.
Make sure you pick seeds that are clean and not damaged. Avoid seeds that are cracked, broken, or have a bad smell. Fresh seeds give you the best sprouts.
Step 2: Wash and Soak the Seeds
Take 2 to 3 tablespoons of seeds and wash them thoroughly under clean water. Remove any small stones or bad seeds that you find. After washing, place the seeds in a glass jar and fill it with water use about 3 times more water than seeds.
Let the seeds soak for 8 to 12 hours. The best time to start soaking is at night before you go to sleep. By morning, the seeds will be fully soaked and ready for the next step. Soaking is a very important part of sprout farming because it wakes up the seed and starts the growing process.
Step 3: Drain and Rinse
After soaking, drain all the water from the jar. Rinse the seeds again with fresh water, then drain once more. The seeds should be moist but not sitting in water. Too much water can cause the seeds to rot, which is one of the biggest mistakes in sprout farming.
Cover the mouth of the jar with a muslin cloth or a mesh lid. Secure it with a rubber band. This cover lets air flow in and keeps dust or insects out.
Step 4: Keep the Jar in a Warm and Dark Place
Turn the jar upside down at a slight angle so that any extra water drains out through the cloth. Place the jar in a warm, dark place like a kitchen cabinet or a corner of your shelf. Sprout farming works best in warm temperatures between 20°C and 30°C is ideal.
Do not keep the jar in direct sunlight during this stage. Direct sunlight can dry out the seeds too fast or cause them to turn bitter.
Step 5: Rinse the Seeds Twice a Day
This is the most important daily task in sprout farming. Every morning and evening, rinse the seeds with fresh water, drain the water out, and put the jar back in its warm spot. Rinsing keeps the seeds moist, clean, and healthy. It also prevents the growth of bacteria or mould.
Within 1 to 2 days, you will start to see tiny white tails growing from the seeds. These are your sprouts! Keep rinsing and draining every day until the sprouts reach the size you like.
Step 6: Move to Light (Optional)
If you want your sprouts to turn a little green (which adds chlorophyll and more nutrients), you can move the jar to a spot with indirect sunlight for the last 4 to 6 hours before harvesting. This is optional, but it makes the sprouts taste a bit better and look nicer.
Step 7: Harvest Your Sprouts
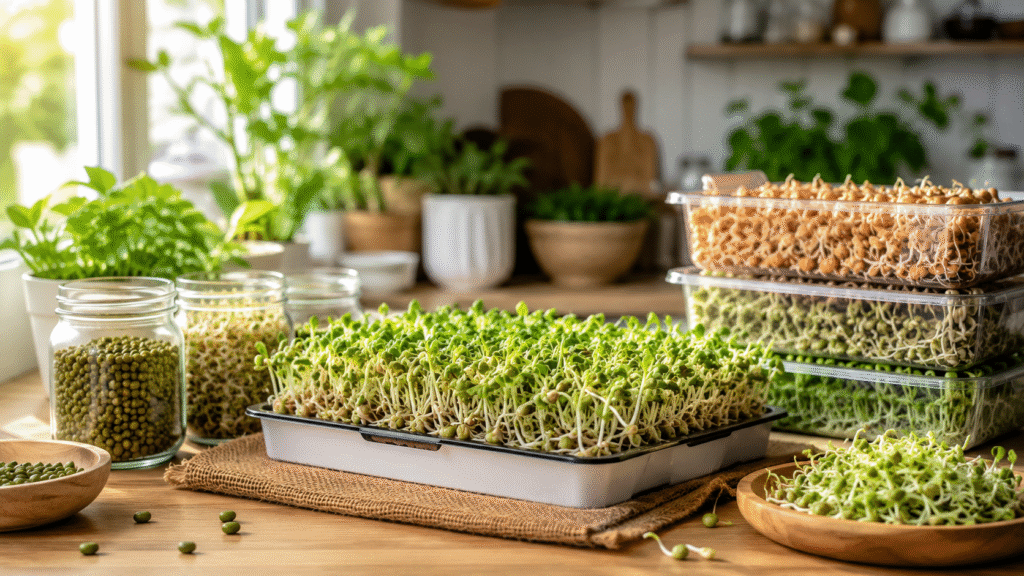
After 3 to 5 days of sprout farming, your sprouts should be about 1 to 2 inches long. This is the perfect time to harvest them. Rinse the sprouts one last time, drain well, and they are ready to eat!
You can store the sprouts in a clean, dry container in the refrigerator for up to 5 days. Make sure to keep them covered so they stay fresh.
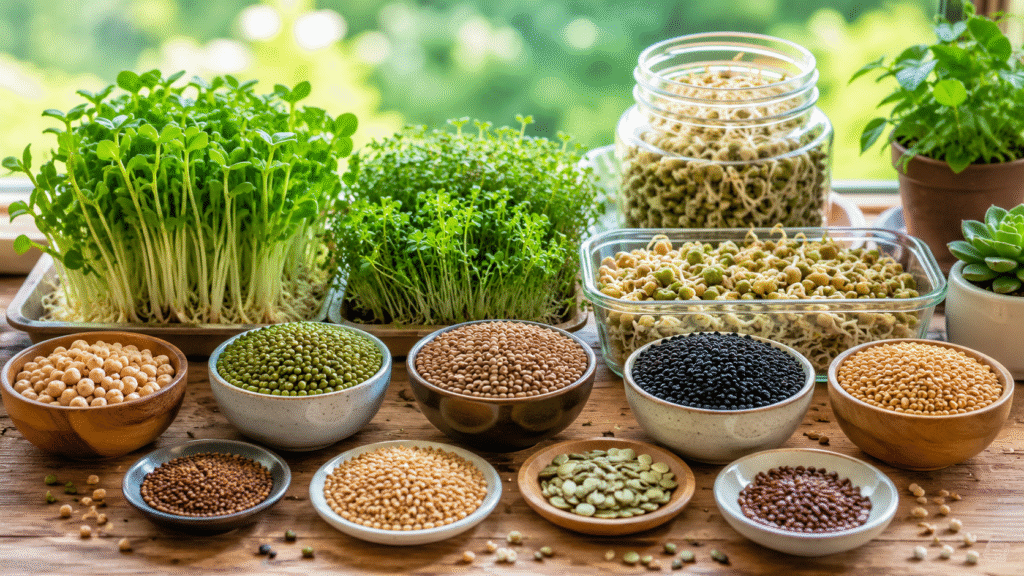
Best Seeds for Sprout Farming at Home
Different seeds give you different flavours and nutrition. Here are some of the best seeds to use for sprout farming at home in India:
- Moong Dal (Green Gram): Best for beginners; grows in 3–4 days; mild and crunchy
- Chana (Chickpea): High in protein; takes 4–5 days; great for chaat
- Methi (Fenugreek): Slightly bitter; good for diabetics and hair health
- Masoor Dal (Red Lentil): Ready in 3 days; very nutritious and easy to grow
- Wheat (Gehun): Used for wheatgrass juice; detoxifying and energising
- Alfalfa: Very popular for salads; grows quickly; mild flavour

Common Mistakes to Avoid in Sprout Farming
Even though sprout farming is simple, there are a few mistakes that can ruin your batch. Here’s what to watch out for:
- Not rinsing enough: Always rinse twice a day. Skipping this is the number one reason sprouts go bad.
- Leaving water in the jar: Always drain completely. Sitting water causes rot and a bad smell.
- Overcrowding the jar: Don’t fill the jar more than 1/4 with seeds. They need room to grow.
- Using dirty water: Always use clean, filtered water for best results.
- Keeping sprouts in sunlight too early: Wait until the last day to expose them to light.
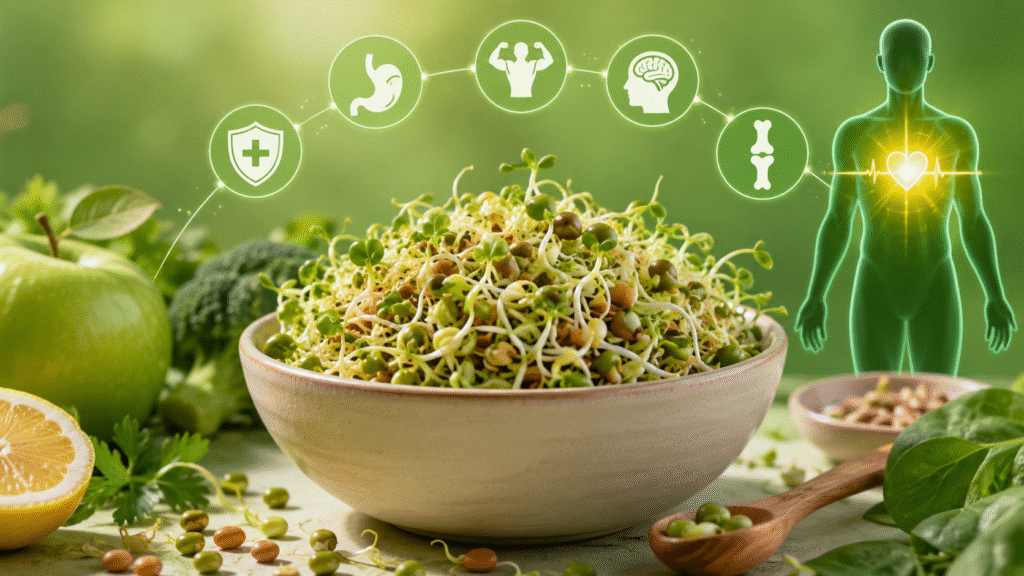
Health Benefits of Eating Sprouts
Sprout farming is not just about growing plants it’s about growing health! Sprouts are considered a superfood because they are loaded with goodness. When a seed sprouts, its nutrient content increases dramatically compared to the dry seed.
Here’s why you should eat sprouts every day:
- High in protein: Great for vegetarians and people who work out
- Rich in fibre: Helps in digestion and keeps your stomach clean
- Full of vitamins: Especially Vitamin C, K, and B-complex
- Boosts immunity: Antioxidants in sprouts help fight diseases
- Good for weight loss: Low in calories but very filling
- Controls blood sugar: Especially methi and moong sprouts are great for diabetics
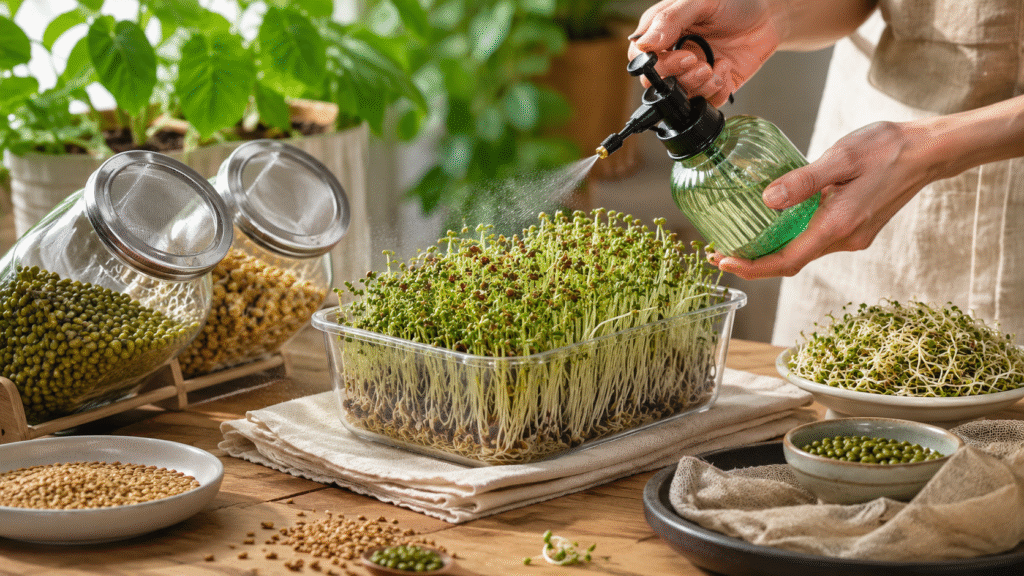
Handy Tips to Improve Your Sprout Farming Results
Once you get the basics right, here are a few extra tips to make your sprout farming even better:
- Start with small quantities 2 to 3 tablespoons of seeds is enough for one jar.
- Keep a routine rinse at the same time every morning and evening.
- Try different seeds every batch so you always have variety.
- Label your jars with the seed name and the date you started.
- In hot summers (very common in Delhi NCR!), rinse 3 times a day to prevent spoiling.
- If sprouts smell sour or look slimy, throw them away and start fresh.

How to Eat Sprouts – Simple and Tasty Ideas
Now that you’ve harvested your sprouts from your home sprout farming setup, it’s time to enjoy them! Here are some easy ways to use them:
- Raw sprout chaat: Mix sprouts with lemon juice, onion, tomato, green chilli, and chaat masala
- Sprout salad: Toss with cucumber, carrot, and a light dressing
- Stuffed paratha: Add lightly cooked sprouts to your paratha filling
- Sprout soup: Boil sprouts with spices for a warm and healthy soup
- Morning smoothie: Blend wheat sprouts with banana and honey for an energy boost
- Sprout sandwich: Add to your favourite sandwich for extra crunch and nutrition

Final Thoughts – Start Your Sprout Farming Journey Today!
Sprout farming is truly one of the best habits you can build at home. It is cheap, healthy, fast, and very satisfying. Whether you are a school student, a busy parent, or someone who just wants to eat better sprout farming is the perfect place to begin your journey into home gardening.
The great news is that you can start today! You already have most of what you need. Just grab a handful of moong dal seeds from your kitchen, soak them tonight, and by the end of the week you will have your very first batch of home-grown sprouts.
Remember, sprout farming is not just about food it’s about feeling connected to nature, taking care of your health, and doing something creative and rewarding from the comfort of your home. Once you start, you will never want to stop!
So go ahead take that first step. Start small, stay consistent, and enjoy the amazing results that sprout farming brings to your life and your family’s health.
Happy sprouting!
FAQs About Sprout Farming
Q1. How many days does sprout farming take at home?
Sprout farming at home takes just 3 to 7 days, depending on the seed you use. Moong dal is the fastest and is usually ready in 3 to 4 days.
Q2. Do I need soil or sunlight for sprout farming?
No, That’s the best part of sprout farming. You don’t need soil or direct sunlight. Just a jar, clean water, and a warm corner in your kitchen is enough.
Q3. Which is the easiest seed to start sprout farming with?
Moong dal (green gram) is the easiest and most beginner-friendly seed for sprout farming. It grows fast, tastes mild, and is available in every Indian kitchen.
Q4. How many times should I rinse the seeds during sprout farming?
You should rinse the seeds at least twice a day once in the morning and once in the evening. In hot weather like Delhi summers, rinsing 3 times a day is even better.
Q5. Can I store sprouts after harvesting?
Yes, After harvesting, rinse the sprouts well, drain them completely, and store them in a clean container in the fridge. They stay fresh for up to 5 days.