
Gypsum Fertilizer: What It Is, Benefits, and How to Use It Effectively
What Is Gypsum Fertilizer? Basics and Composition
Gypsum Fertilizer is a naturally occurring mineral made of calcium sulfate dihydrate (CaSO₄·2H₂O). Think of it as a gentle helper for soils not a dramatic miracle worker, but a dependable partner. It’s mined from deposits or produced as a byproduct of industrial processes. In agriculture, gypsum is used as a soil amendment and a source of calcium and sulfur, two nutrients plants need for healthy growth.
Chemical Composition of Gypsum
At its core gypsum contains calcium (Ca) and sulfur (S) bonded with water molecules. The calcium helps build plant cell walls and root systems, while sulfur plays a role in protein formation and enzyme functions. Because gypsum doesn’t change soil pH much, it’s often chosen when lime (which raises pH) would be inappropriate.
Natural vs. Synthetic Gypsum
Natural gypsum is mined directly. Synthetic varieties commonly called FGD gypsum (from flue gas desulfurization) come from power-plant scrubbers. Both forms are used in agriculture; what matters most is purity and absence of harmful contaminants.

Why Gardeners and Farmers Use Gypsum Fertilizer
Gypsum is used to improve physical soil properties and supply calcium and sulfur. It’s especially common where soils are heavy, compacted, or saline. But remember: gypsum fixes some problems and doesn’t help others. It’s not a cure-all.
Primary Roles in Soil Health
- Improves structure of heavy clay soils, making them less sticky and more crumbly.
- Replaces sodium ions on clay, helping drainage and aeration.
- Supplies calcium and sulfur without altering pH.
When Gypsum Is NOT the Right Choice
If your soil is acidic and needs pH correction, lime might be the better choice. Gypsum won’t raise pH. Also, if calcium deficiency is due to poor root activity rather than lack of calcium in soil, gypsum alone may not solve the problem.
Benefits of Gypsum Fertilizer
Gypsum brings specific, measurable benefits when used correctly.
Improves Soil Structure and Aeration
In clay-heavy soils, gypsum binds with clay particles, reducing compaction and allowing roots to breathe. Think of it as adding tiny pathways for air and water to move through.
Supplies Calcium and Sulfur
Two essential nutrients: calcium strengthens cell walls (less blossom end rot, stronger stems) and sulfur helps form amino acids and plant proteins especially valuable in high-yield systems.
Reduces Soil Salinity and Sodicity
Sodic soils, high in sodium, become tight and impermeable. Gypsum helps replace sodium with calcium, flushing salts away and restoring soil functioning.
Helps with Compacted Clay Soils
If your spade goes in like a knife through butter compacted means your soil lacks structure. Gypsum loosens it over time, making digging, root growth, and water infiltration easier.
Boosts Nutrient Uptake and Crop Quality
By improving root zone conditions and supplying Ca and S, gypsum often leads to better nutrient uptake and sometimes improved crop yields and quality.
How Gypsum Fertilizer Works in the Soil
You don’t have to be a soil scientist to understand how gypsum works. Think of it like giving your soil a gentle makeover. Gypsum doesn’t behave like chemical fertilizers that act fast and disappear quickly. Instead, it works slowly and steadily, improving the soil’s physical condition over time.
The Chemistry in Plain Language
When gypsum touches moist soil, it begins to dissolve gradually. As it dissolves, it releases two important nutrients: calcium and sulfate.
- Calcium acts like a soil conditioner. It attaches itself to the surfaces of clay particles.
- Sulfate becomes a plant-ready form of sulfur, a nutrient many crops need for protein and enzyme production.
Now here’s the interesting part calcium doesn’t just “sit” in the soil. It plays a very active role. Clay particles often hold sodium, and excess sodium causes soil to become hard, compact, and difficult for roots to penetrate. When gypsum releases calcium, the calcium pushes sodium away from these particles. Once released, sodium can be washed deeper into the soil profile with rain or irrigation but only if the soil drains well.
So, gypsum doesn’t magically remove sodium, but it helps unlock and move it, clearing the way for healthier soil structure.
How Gypsum Interacts with Sodium and Clay
Visualize clay particles as tiny magnets. When these magnets are coated with too much sodium, they start repelling each other, making the soil tight, sticky, and poorly structured. This is why sodic soils form crusts, crack when dry, and turn muddy when wet.
Here’s where gypsum steps in like a smart problem-solver:
- Calcium from gypsum replaces sodium on clay surfaces.
- Once sodium gets displaced, the clay particles are free to come together in small, stable groups a process called aggregation.
- These new, crumb-like structures help water seep in, roots grow deeper, and air circulate freely.
It’s like taking a packed lump of dough and breaking it into soft, airy crumbs. The soil becomes easier to work with, drains better, and supports healthier plant growth.
Types and Forms of Gypsum Fertilizer
Gypsum fertilizer comes in several forms, and each type is designed to suit different farming or gardening needs. Choosing the right one can make your soil improvement efforts faster, easier, and more effective. Let’s break down the main types so you know exactly which one works best for your garden, lawn, or agricultural field.
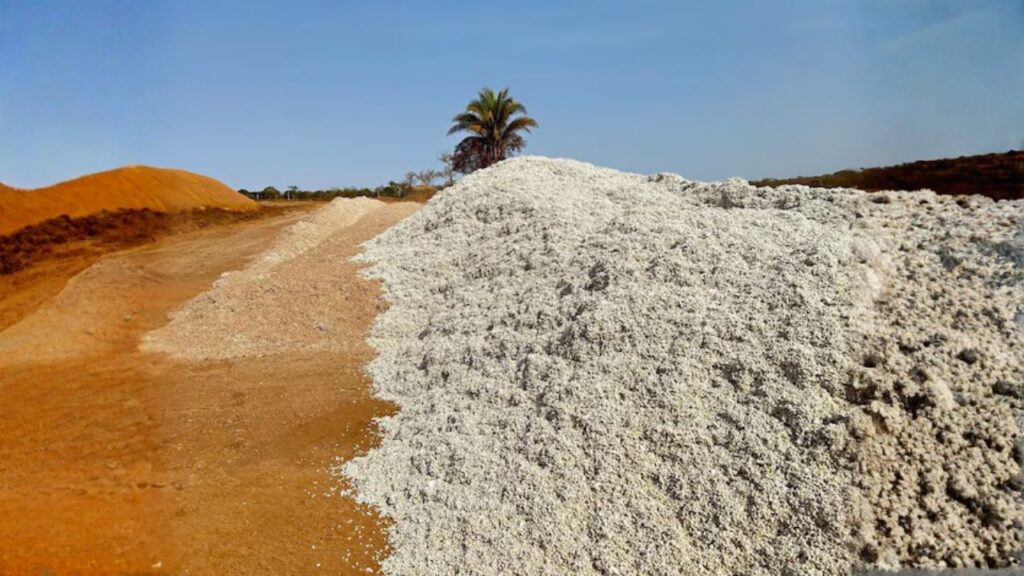
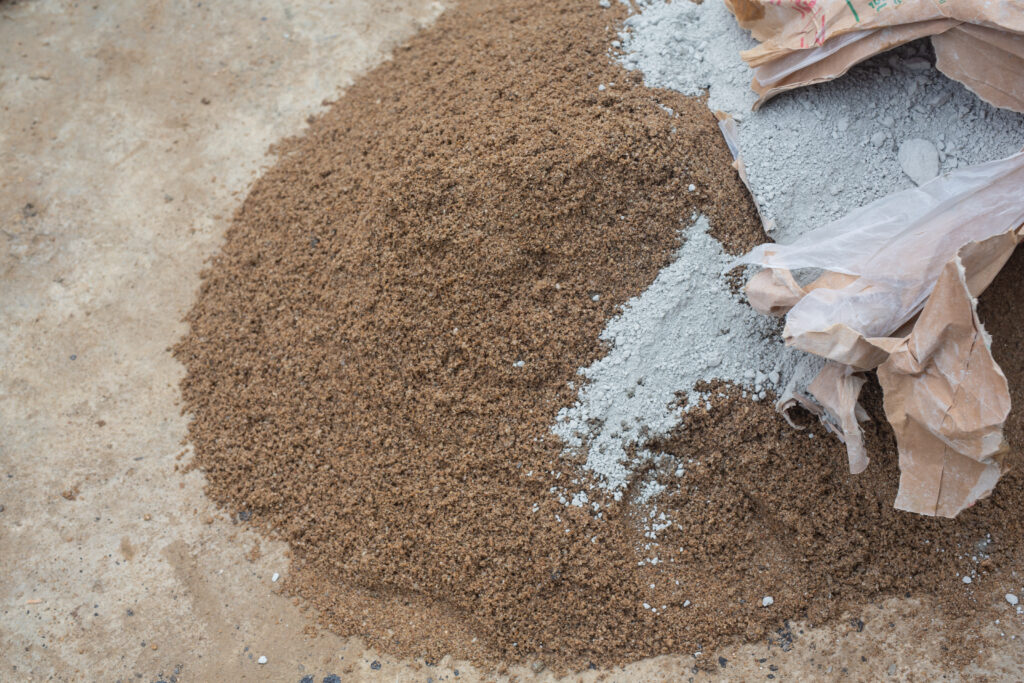
Agricultural Gypsum (Crystalline)
This is the traditional, naturally mined gypsum the kind most gardeners and farmers are familiar with. It appears as a fine, white or off-white powder and is widely used because of its purity and reliability. Agricultural gypsum works well for improving heavy clay soil, loosening compacted ground, and supplying plants with calcium and sulfur. It’s affordable, readily available, and perfect for everything from home gardens to large farmlands.
Flue Gas Desulfurization (FGD) Gypsum
FGD gypsum is a modern, eco-friendly alternative created as a byproduct of industrial emission control systems. Instead of being wasted, this material is processed into a clean, safe fertilizer. Many regions consider FGD gypsum just as effective as natural gypsum, but it’s always smart to check local regulations and quality standards before buying. One bonus? It helps reduce industrial waste while delivering the same soil benefits a win for both farmers and the environment.
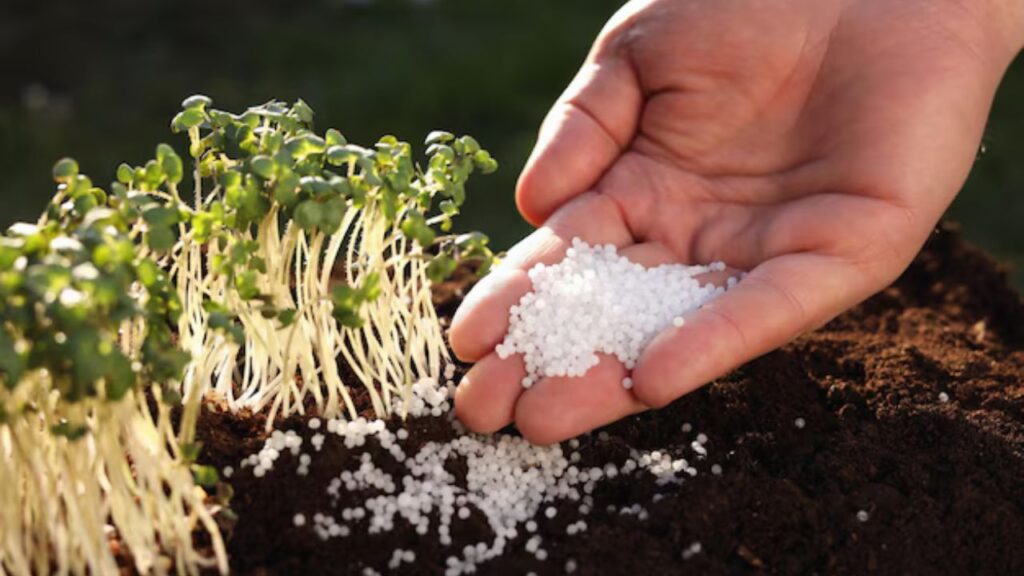
Powdered, Granular, and Liquid Forms
Gypsum is available in different physical forms so you can choose what suits your application method best:
- Powdered Gypsum:
This is the most common and budget-friendly form. It works quickly but can be slightly dusty and may require mixing into the soil for best results. Ideal for gardens, beds, and areas where you can easily incorporate it. - Granular Gypsum:
Granular gypsum is easier to handle and spread, especially over large areas like lawns or fields. It flows smoothly through spreaders and creates less dust. Many homeowners prefer this form because it offers convenience without compromising performance. - Liquid Gypsum:
Liquid formulations are designed for fast, targeted applications. While they don’t replace powdered or granular forms in major soil correction projects, they’re useful when you need quick results or want to apply gypsum through irrigation or foliar systems. Landscapers and turf managers often use this for maintenance and surface-level improvements.

How to Test If Your Soil Needs Gypsum Fertilizer
Soil Testing: What to Look For
A lab soil test will show calcium, sulfur, sodium, pH, and cation exchange capacity (CEC). High sodium, low calcium, compacted structure, or sulfur deficiency signals gypsum could help.
DIY Checks: Simple Field Tests
- If soil forms a hard crust after drying or puddles in wet weather, soil structure may be poor.
- Yellowing young leaves sometimes mean sulfur deficiency. But be careful many issues look similar.

Recommended Application Rates and Timing In Gypsum Fertilizer
Application depends on soil type and crop.
General Dosage Guidelines
- Light gardening: 100–200 kg/ha (about 10–20 g/m²) as a general starting point for lawns or beds.
- Problematic clay/sodic soils: 500–2,000 kg/ha depending on severity.
Always base rates on soil test results.
Best Time of Year to Apply
Apply before the rainy season or before heavy irrigation so gypsum can move into the root zone. Early spring or fall are common choices.
Application Methods: Broadcast, Banding, and Foliar
- Broadcast and incorporate for wide areas.
- Banding near seed rows for crops can be efficient.
- Gypsum isn’t typically used as a foliar spray it’s a soil amendment.

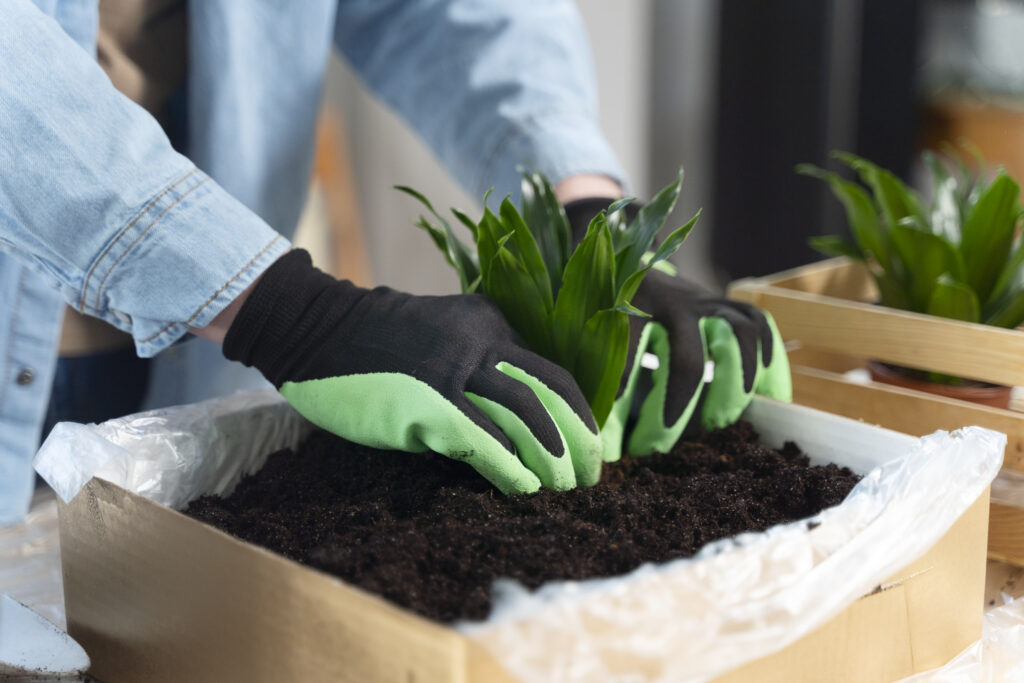
Step-by-Step: How to Apply Gypsum Fertilizer to Your Garden or Field
Applying gypsum is not complicated, but doing it the right way makes a huge difference in how fast your soil improves. Follow this simple, beginner-friendly routine to get the best results.
1. Preparing the Area
Before you even open the gypsum bag, take a few minutes to prepare your garden or field. Start by removing any stones, dry leaves, weeds, or leftover plant material. This helps the gypsum settle into the soil evenly. If possible, get a soil test done it tells you how much gypsum your soil actually needs. Many people skip this step, but it truly makes your application more effective.
For new garden beds or land that hasn’t been worked on for a while, loosen the soil using a spade, garden fork, or tiller. Loosening the top layer allows gypsum to move deeper into the soil instead of just sitting on the surface. Think of it like opening the door for gypsum to do its job properly.
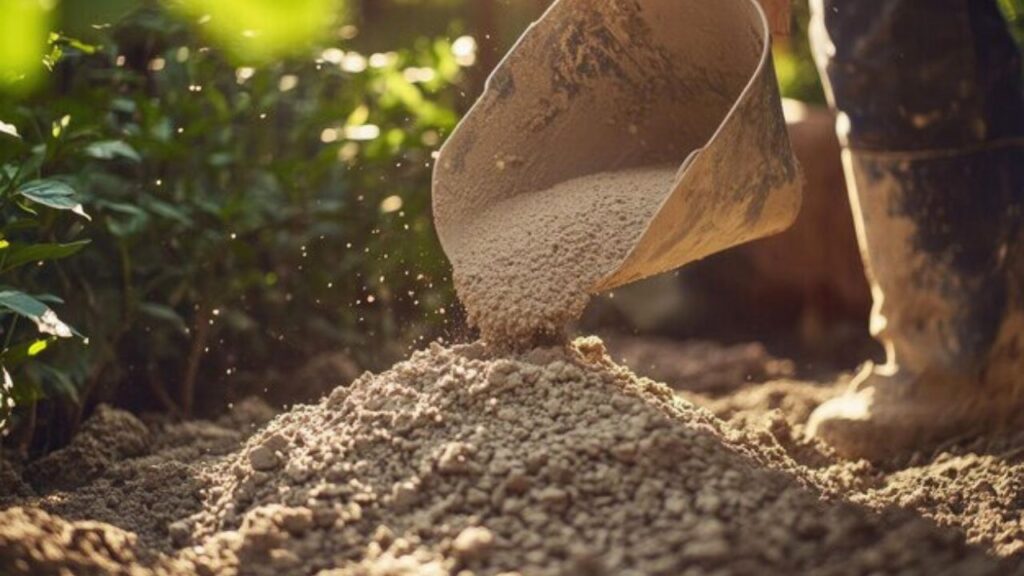
2. Spreading and Incorporation
Once the area is ready, spread the gypsum evenly across the surface. For large fields, a fertilizer spreader works best because it distributes the material uniformly. For home gardens or smaller patches, you can simply sprinkle it by hand just try to keep the layer consistent.
After spreading, gently mix the gypsum into the soil. You don’t need to dig deep; just working it into the top 5–15 cm of soil is enough. Use a rake for small areas or a tiller for bigger spaces. This light incorporation helps the gypsum reach the root zone faster and interact better with clay particles and sodium in the soil.
3. Watering and Follow-Up
Watering is the key step many people overlook. Gypsum only starts working when it dissolves in water, so after application, give your garden or field a deep, thorough watering. If you’re applying before monsoon or before regular irrigation, even better nature will do the hard work for you.
Over the next few months, keep an eye on the soil. You’ll notice that the ground becomes less sticky when wet and less rock-hard when dry. Water will start absorbing more easily, and plant roots will grow deeper and healthier. Soil structure improvement isn’t instant it’s a gradual process but with consistent application and watering, you’ll see visible changes that are absolutely worth the wait.
Combining Gypsum Fertilizer with Other Soil Amendments
Gypsum plays nicely with many amendments, but there are caveats.
Gypsum + Compost or Organic Matter
Compost improves soil biology, while gypsum improves structure and nutrient availability together they’re a complementary team.
Gypsum vs Lime: Which One Do You Need?
- Use lime to raise pH and supply calcium when soil is acidic.
- Use gypsum to add calcium and sulfur without changing pH.
If you need both pH correction and calcium, test and prioritize based on lab results.
Gypsum Fertilizer Crop-Specific Uses and Benefits
Different plants show different responses.
Vegetables and Fruits
Gypsum can reduce blossom end rot in tomatoes and peppers by supplying calcium. It can also improve flavour and texture in root crops and fruits by enhancing nutrition uptake.
Lawns, Turf, and Ornamentals
For compacted lawns and sports turf, gypsum helps root penetration and drainage leading to greener, healthier turf.
Field Crops (Wheat, Rice, Sugarcane, Cotton)
Gypsum is widely used in cereal and cash crops to improve yield where soil structure or sulfur deficiency limits growth. In sugarcane and cotton, sulfur and calcium are especially beneficial.

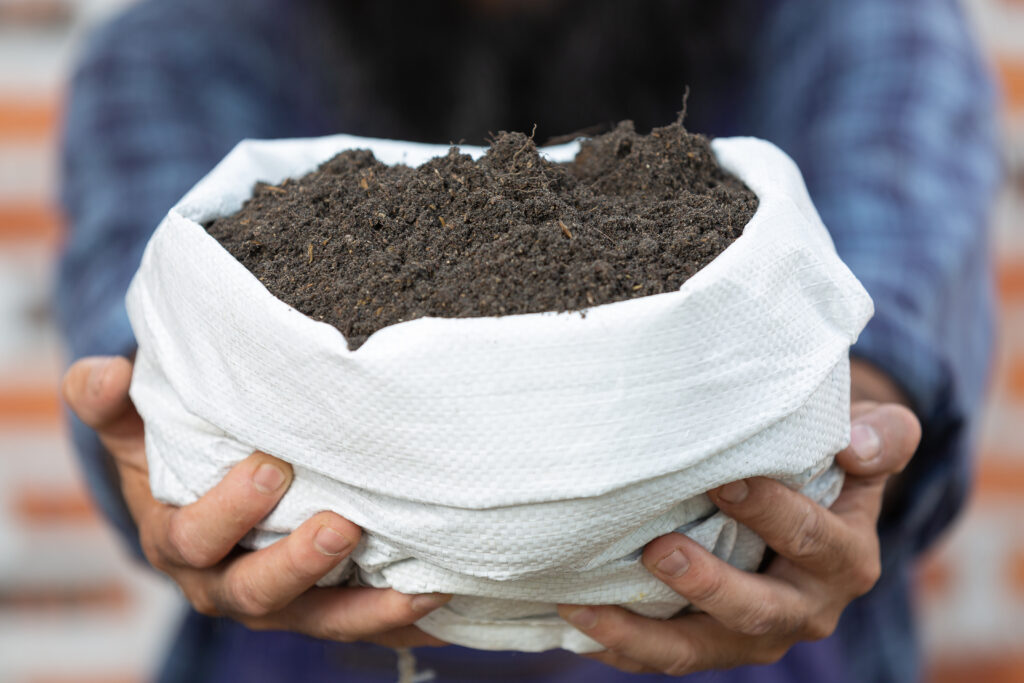
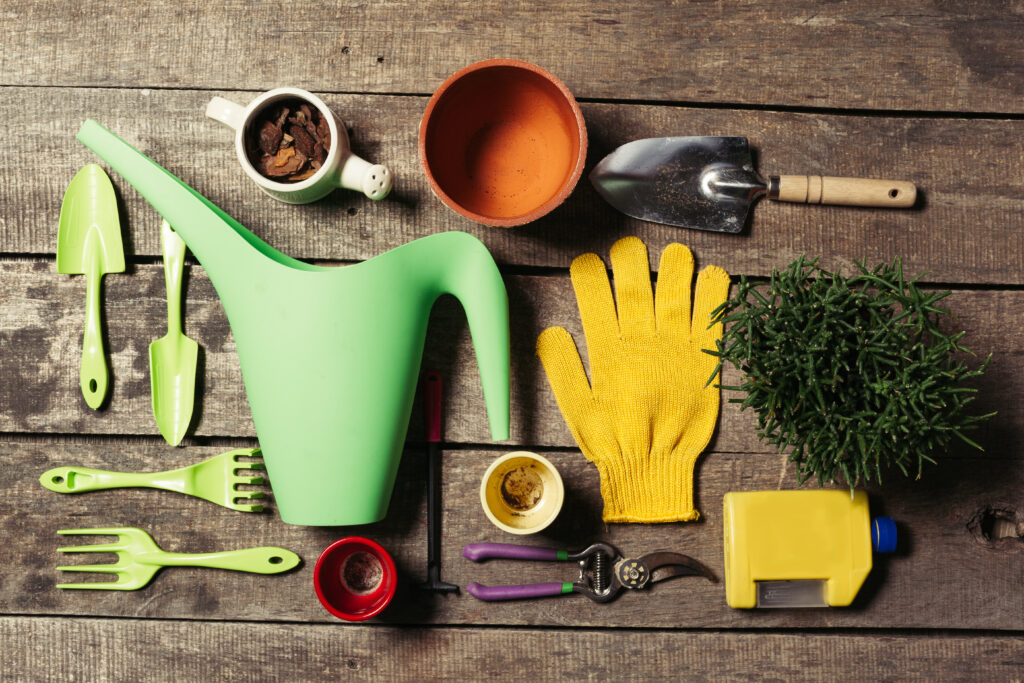
Safety, Storage, and Environmental Considerations
Gypsum is generally safe, but handle it sensibly.
Safe Handling Tips
- Use gloves and a dust mask if spreading dusty gypsum.
- Store in a dry place to prevent caking.
- Keep out of reach of children and pets until incorporated.
Environmental Impact
Gypsum is low-risk compared to many chemicals. However, avoid over-application because excessive sulfate could leach to water systems in sensitive areas. Use recommended rates.
Troubleshooting Common Problems In Gypsum Fertilizer
Not everything works perfectly the first time here’s how to diagnose.
No Improvement After Application
Possible reasons: wrong problem addressed (e.g., pH issue), poor drainage preventing leaching, insufficient rate, or compaction deeper than the gypsum penetration. Re-test soil and adjust.
Over-application and Its Effects
Too much gypsum can lead to nutrient imbalance (e.g., excess calcium interfering with magnesium uptake) or wasteful sulfate leaching. Stick to recommended rates.
Practical Tips & Quick Checklist Before You Apply
- Get a soil test first.
- Know your soil type (clay, loam, sandy).
- Apply before heavy rain or irrigation for best movement.
- Combine with organic matter when possible.
- Measure accurately and avoid over-application.
Conclusion
Gypsum fertilizer is one of those quiet heroes of the gardening and farming world it doesn’t shout for attention, but it delivers steady, reliable results when used the right way. By supplying essential nutrients like calcium and sulfur, it helps strengthen plant structure, improve root growth, and support overall plant health. But the real magic of gypsum lies in the way it transforms difficult soils. If you’re dealing with heavy clay, compacted ground, or salty/sodic patches, gypsum gently loosens the soil, improves drainage, and creates a healthier environment where roots can breathe and expand.
However, it’s important to remember that gypsum is not a “fix-everything” solution. Its effectiveness depends on understanding your soil’s actual needs. A simple soil test can tell you whether your garden truly requires gypsum or if another amendment would work better. When applied at the right rate and paired with proper practices such as adding organic matter, ensuring good drainage, and maintaining consistent watering gypsum becomes incredibly effective.
Used thoughtfully, gypsum has the power to quietly but dramatically improve soil structure over time. It makes the soil softer, more workable, and more welcoming for roots, water, and beneficial microbes. And when your soil is happy, your plants naturally respond with stronger growth, deeper roots, greener leaves, and often, noticeably better yields. It’s a simple, affordable step that can bring long-term benefits to any garden or field.
Frequently Asked Questions About Gypsum Fertilizer
Q1: Will gypsum change my soil pH?
A: No, gypsum is neutral regarding pH. If your soil needs pH correction, lime is the right amendment. Gypsum supplies calcium without raising pH.
Q2: Can I use gypsum to treat nutrient deficiencies?
A: Gypsum supplies calcium and sulfur, so it helps specific deficiencies of those nutrients. It won’t correct deficiencies caused by poor root health or other nutrient imbalances always confirm with a soil test.
Q3: How soon will I see results after applying gypsum?
A: Some benefits, like easier tilling, may appear within weeks, but significant structural improvements can take months and sometimes multiple applications depending on soil condition and rainfall/irrigation.
Q4: Is FGD gypsum safe for organic farming?
A: FGD gypsum can be used in some organic systems if it meets purity and contaminant standards, but rules differ by certifier and country. Check with your organic certifier before use.
Q5: Can gypsum be applied with seeds during planting?
A: Yes, banding gypsum near seed rows can be effective for certain crops, but avoid placing large quantities directly in seed furrows where salts might affect germination. Follow recommended rates and placement practices.