

Coco peat is one of the best-kept secrets in home gardening and if you haven’t tried it yet, you’re missing out on something truly amazing for your plants.
Have you ever looked at your garden and thought, “Why are my plants not growing well?” Maybe the soil is too hard, or it dries out too fast, or your plants just don’t look healthy. You are not alone. Millions of home gardeners face the same problem every day. The good news? Coco peat might just be the simple, affordable solution you’ve been looking for all along.
In this blog, we are going to talk about everything you need to know about coco peat what it is, where it comes from, how to use it in your home garden, and why so many gardeners around the world are switching to it. Whether you grow flowers on your balcony, vegetables in your backyard, or houseplants on your windowsill, coco peat can help your plants grow better.
Let’s dive in.
What Exactly Is Coco Peat?
Before we talk about the uses and benefits, let’s first understand what coco peat actually is.
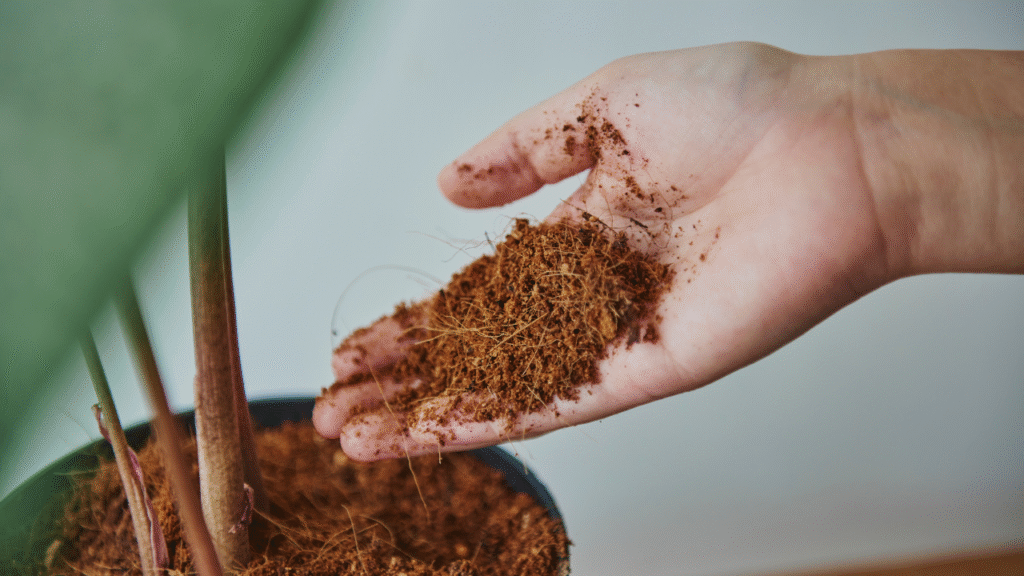
When coconuts are harvested, the outer shell of the coconut is covered in a thick, fibrous layer. This layer is called the husk. Once the husk is removed and processed, the fine, spongy material that is left behind is what we call coco peat. It is also sometimes known as coir peat, coir dust, or coconut peat.
For a long time, this material was considered waste. Coconut factories would simply throw it away or burn it. But over time, people discovered that this “waste” was actually extremely useful especially for growing plants. Today, coco peat is used all over the world by farmers, plant nurseries, and home gardeners.
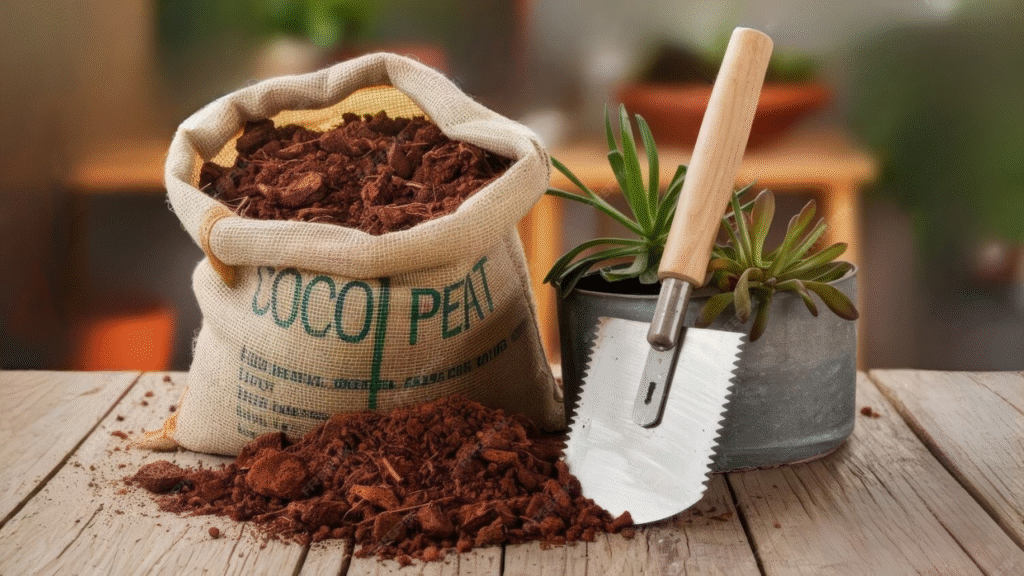
It usually comes in two forms:
- Compressed blocks or bricks – These are dry and compact. You just add water and the block expands into a big pile of fluffy growing medium.
- Loose coco peat – This is already expanded and ready to use. You can mix it directly into your soil or pots.
Both forms work well. The compressed blocks are cheaper and easier to store, while loose coco peat is more convenient for beginners.
Where Does Coco Peat Come From?
Coco peat comes from coconut-producing countries. India, Sri Lanka, Indonesia, the Philippines, and Vietnam are among the biggest producers. India, in fact, is one of the largest exporters of coco peat in the world.
The best part? Because it is made from coconut husks which are a natural byproduct of the coconut industry coco peat is a completely sustainable material. Nothing extra needs to be grown or harvested just to make it. It is recycled from something that would otherwise be thrown away. This makes coco peat one of the most eco-friendly gardening materials available today.
10 Amazing Benefits of Coco Peat for Home Gardeners
Now let’s get to the exciting part why should you use coco peat in your home garden? Here are the top benefits that make it so popular.
1. Holds Water Like a Sponge
One of the biggest problems home gardeners’ faces is that soil dries out too quickly, especially in pots and containers. Coco peat can hold up to 10 times its own weight in water. This means your plants stay moist for longer, and you don’t need to water them as often.
This is especially helpful during summers in India, where the heat can dry out pots very fast.
2. Also Drains Extra Water Well
Here’s what makes coco peat really special it holds water AND drains extra water at the same time. This might sound like a contradiction, but it’s true.
Coco peat has tiny pores and air pockets that hold moisture while still allowing excess water to flow out. This prevents something called “waterlogging,” which is when roots sit in too much water and start to rot. Root rot is one of the most common reasons houseplants die. Using coco peat helps avoid this problem.
3. Keeps Roots Healthy with Good Airflow
Roots need oxygen to grow well. Regular garden soil can become hard and compact over time, squeezing out the air spaces. Coco peat stays light and fluffy even after many waterings. This means roots always have enough air to breathe and grow strong.
4. Slightly Acidic – Perfect for Most Plants
Coco peat has a pH level of around 5.5 to 6.5. Most plants love this slightly acidic environment. It helps them absorb nutrients from the soil more easily. If your garden soil is too alkaline (which is common in many parts of India), mixing in coco peat can help bring the pH to a better level for plant growth.
5. Eco-Friendly and Sustainable
As we mentioned earlier, coco peat is made from coconut husk waste. Using it means you are helping reduce waste and choosing a natural, biodegradable product. Unlike some synthetic soil mixes that use chemicals, coco peat is completely natural and safe for the environment.
6. Lasts for a Long Time
Coco peat breaks down very slowly. Unlike regular compost that decomposes quickly, coco peat can stay useful in your soil for several years. This means you get long-term value from every bag or block you buy.
7. Lightweight and Easy to Handle
If you garden on a balcony or rooftop, you already know how heavy soil can be. Coco peat is much lighter than regular soil, making it ideal for pots, grow bags, and container gardening. Your pots will be easier to move, and your balcony won’t have to carry as much weight.
8. Naturally Resistant to Pests and Mold
Coco peat has natural antifungal properties. This means it helps prevent Mold and fungal diseases from forming in your pots and garden beds. It also does not attract common garden pests like ants or fungus gnats as easily as some other growing mediums.
9. Works with Any Kind of Plant
Whether you grow vegetables, flowering plants, herbs, succulents, or fruit trees, coco peat can work for all of them. It is versatile and flexible you can use it alone or mix it with soil, compost, perlite, or other materials depending on what your plants need.
10. Very Affordable
In India, coco peat is widely available and extremely budget-friendly. A single 5 kg compressed block costs anywhere between ₹80 to ₹200 and can expand into 70 to 90 litters of growing medium. That is a lot of value for a small price.
How Is Coco Peat Different from Regular Soil?
Many beginners ask this question. The answer is simple.
Regular garden soil contains a mix of sand, clay, organic matter, and minerals. It can vary a lot depending on where you live. Some soils are too heavy and hold too much water. Some are too sandy and don’t hold water at all. Garden soil also comes with weed seeds, bacteria, and sometimes pests.
Coco peat, on the other hand, is clean, consistent, and neutral. It doesn’t have weed seeds or harmful bacteria. It always has the same texture and water-holding ability no matter where you buy it.
The key difference is that coco peat alone does not contain nutrients. Regular soil has some natural nutrients. So, when you use coco peat, you need to add fertilizers or compost to feed your plants. But because coco peat holds nutrients well once you add them, your plants can absorb them efficiently over time.
Common Uses of Coco Peat in Home Gardens
Coco peat is not just for one type of garden. Here are the most popular ways people use it at home.
Mixing with Potting Soil
The most common use is to mix coco peat with regular potting soil. A simple ratio is 1 part coco peat to 2 parts soil. This improves drainage, adds lightness, and helps the soil hold moisture better. Your potted plants will thank you for it.
Seed Germination
Coco peat is one of the best materials for starting seeds. Seeds germinate (sprout) very well in it because it stays moist, is soft for tiny roots to grow through, and doesn’t carry diseases that could harm young seedlings. Fill small containers or seed trays with coco peat, plant your seeds, keep them moist, and watch them sprout.
Hydroponics and Grow Bags
If you are into modern gardening methods like hydroponics (growing plants without soil), coco peat is widely used as a growing medium. It holds the plant in place, keeps roots moist, and allows nutrient-rich water to flow through easily. Many people growing tomatoes, cucumbers, peppers, and leafy greens in grow bags on their terrace use coco peat as their main medium.
Improving Garden Beds
If your outdoor garden soil is too hard or compacted, you can dig in coco peat to loosen it up. This improves aeration (airflow) and water retention. Over time, your garden bed will become softer and more productive.
Growing Succulents and Cacti
For succulents and cacti, which hate too much water, you can mix coco peat with coarse sand or perlite (a volcanic mineral). This gives good drainage while still retaining a tiny bit of moisture perfect for these drought-tolerant plants.
How to Get Started with Coco Peat: A Step-by-Step Guide
Ready to try coco peat in your garden? Here’s a simple guide for beginners.
Step 1: Buy Your Coco Peat
You can find coco peat at any local nursery, garden shop, or online on platforms like Amazon, Flipkart, Look for a clean, light brown brick or bag. Check that it smells earthy and fresh, not sour or mouldy.
Step 2: Expand the Compressed Block (If Using a Brick)
If you bought a compressed brick of coco peat, you need to hydrate it first.
- Place the brick in a large bucket or tub.
- Slowly add water about 4 to 5 litters for a standard 650g brick.
- Wait 10 to 15 minutes. The brick will slowly absorb the water and expand.
- Use your hands to break it apart and fluff it up.
- You should now have a large pile of soft, moist coco peat ready to use.
Step 3: Rinse It (Optional but Recommended)
Sometimes coco peat can have a high salt content, especially if it hasn’t been properly washed during processing. Too much salt can harm your plants. To be safe, you can rinse your coco peat with clean water once or twice before using it. This removes any excess salts.
Step 4: Mix with Other Ingredients
Coco peat alone doesn’t have enough nutrients for most plants. Here’s a simple all-purpose mix you can make at home:
- For vegetables and flowering plants: 40% coco peat + 40% garden soil + 20% compost or vermicompost
- For succulents and cacti: 30% coco peat + 50% coarse sand + 20% perlite
- For seedlings: 100% coco peat (no fertilizer needed for germination)
Step 5: Fill Your Pots or Beds
Once your mix is ready, fill your pots, grow bags, or garden beds. Don’t pack it too tightly keep it light and fluffy so roots can grow easily.
Step 6: Plant and Water
Plant your seeds or seedlings as usual. Water gently. You’ll notice that the coco peat holds moisture well, so you won’t need to water as frequently as with regular soil.
Step 7: Add Fertilizer Regularly
Since coco peat has no nutrients on its own, you’ll need to feed your plants regularly. Use a balanced liquid fertilizer or add slow-release granules every few weeks. You can also top-dress with compost once a month to keep your soil healthy.
Tips and Common Mistakes to Avoid
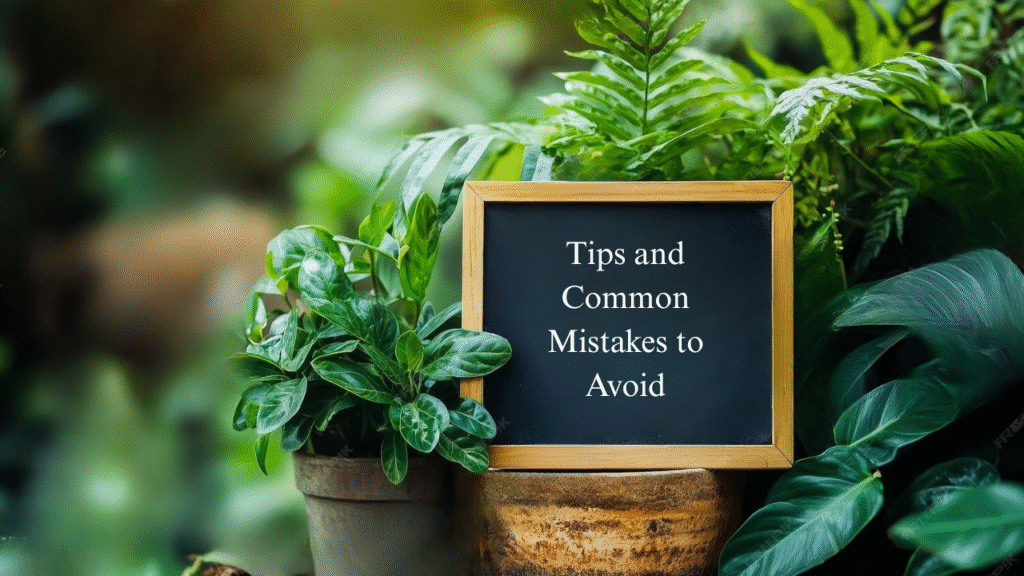
Here are a few quick tips to help you get the best results from coco peat:
Do’s:
- Always rinse your coco peat before use to remove excess salts.
- Mix it with compost or fertilizers to provide nutrients.
- Use it for seed starting it gives excellent results.
- Store unused coco peat in a dry, covered place to prevent Mold.
Don’ts:
- Don’t use coco peat alone as a long-term growing medium without adding nutrients.
- Don’t overwater just because coco peat holds moisture check the top inch of the mix before watering.
- Don’t buy coco peat that smells sour or looks black it may have gone bad.
Is Coco Peat Good for All Climates?
Yes, Coco peat works well in almost all climates. In hot and dry climates like most parts of India, it is especially useful because it reduces the frequency of watering. In humid climates, its excellent drainage properties prevent waterlogging.
For indoor gardens, coco peat is perfect because it stays clean, doesn’t attract insects as much as garden soil, and keeps your home clean.
Conclusion
If you’ve been struggling with dry pots, poor soil quality, heavy containers, or unhealthy plants, coco peat is one of the simplest changes you can make that will have a big impact. It is natural, affordable, eco-friendly, and works for almost every type of plant.
From improving your regular potting mix to starting seeds, from growing vegetables in grow bags to nurturing your favourite houseplants coco peat fits into every kind of home garden.
The best part? You don’t need to be an expert gardener to use it. Even if you are just starting out, coco peat is forgiving, easy to work with, and gives great results. With just a small investment, you can completely transform the health and beauty of your garden.
So, the next time you visit a nursery or browse a gardening website, pick up a block of coco peat and give it a try. Your plants will notice the difference and so will you.
Happy gardening! 🌱
FAQs About Coco Peat
Q1. What is coco peat made from?
Coco peat is made from the fibrous husk of coconuts. It is a natural byproduct of the coconut industry that would otherwise go to waste.
Q2. Can I use coco peat alone without mixing it with soil?
You can use coco peat alone for seed germination, but for grown plants, you should mix it with compost or fertilizer since coco peat has no nutrients on its own.
Q3. How often should I water plants grown in coco peat?
Less often than regular soil! Coco peat holds moisture very well, so always check the top inch of the mix before watering to avoid overwatering.
Q4. Is coco peat safe for vegetables and edible plants?
Yes, coco peat is 100% natural and chemical-free, making it completely safe for growing vegetables, herbs, and other edible plants at home.
Q5. Where can I buy coco peat in India?
You can easily find coco peat at your local nursery or garden shop. It is also available online on platforms like Amazon, Flipkart, and Ugaoo at very affordable prices.